




I always look for storage space in potential homes - I'm not blessed to live where basements are common. When we purchased this home I had another spot picked out for our food storage needs - but as our house changed I realized we'd need a new place for our food storage.
We have this little door in our laundry room, our Realtor called it "Harry Potter's Room" - of course it's under the stairs. We used it first as a "Clubhouse" we had it set up for school complete with whiteboard etc.
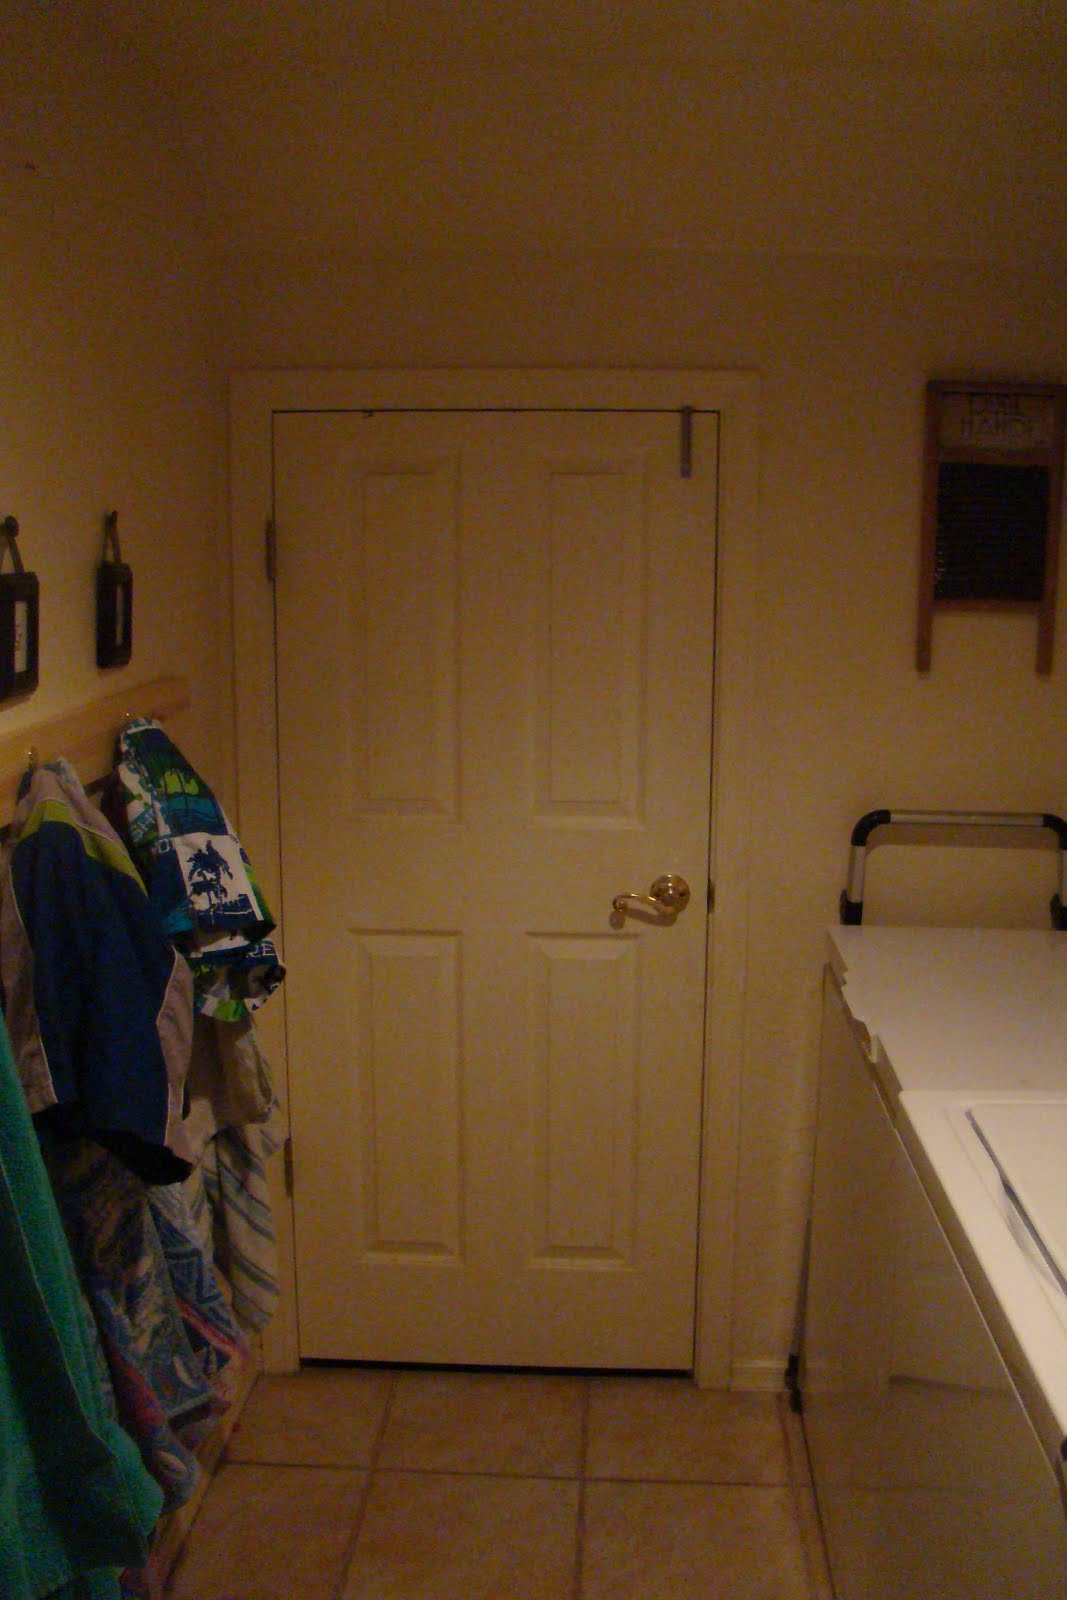 I knew it would make a great food storage closet I just needed to remove the carpet (in case of spills) and add the shelves....
  This is my favorite little nook next to the door...I can fit 34 cans of spaghetti sauce neatly, out of sight, yet accessible. I love custom shelves - you should've seen the look on my handy man's face when I had him measure a can so they would fit perfectly.
My next favorite spot is my tricky entry corner - I wanted every inch usable. So I came up with this solution to the otherwise dead space, corner shelves!

The main, larger shelves here..you can see the angle of the stairs above, perfect for storing extra condiments. And the cereal box shelf - those boxes are two deep so whatever the front box, their is a matching box behind. I always stock up when cereal goes on sale - now I have a place to store them.

These beauties I found at Costco; I guess they're for dog food, but they said food safe on them. So again I made sure the shelves fit perfectly around them to store my bulk dry goods. I love gamma type lids that screw on and off with ease (they also came with a scoop).

I love my little but customized food storage closet.

Oh and the floor..I removed the carpet and tack strip but didn't want to hassle with adding tile to the closet and I didn't like the bare concrete so I made a little trip to the Home Improvement Store and came home with peel and stick vinyl tile. But instead of the traditional square tiles these were made to look like wood floor and were 5 inches by 36 inches. Cut them with scissors and stick them to the concrete. The floor cost me a whole $17 - they were on clearance of course.


