5.25.2010

Food Storage Space

I always look for storage space in potential homes - I'm not blessed to live where basements are common. When we purchased this home I had another spot picked out for our food storage needs - but as our house changed I realized we'd need a new place for our food storage.

We have this little door in our laundry room, our Realtor called it "Harry Potter's Room" - of course it's under the stairs. We used it first as a "Clubhouse" we had it set up for school complete with whiteboard etc.

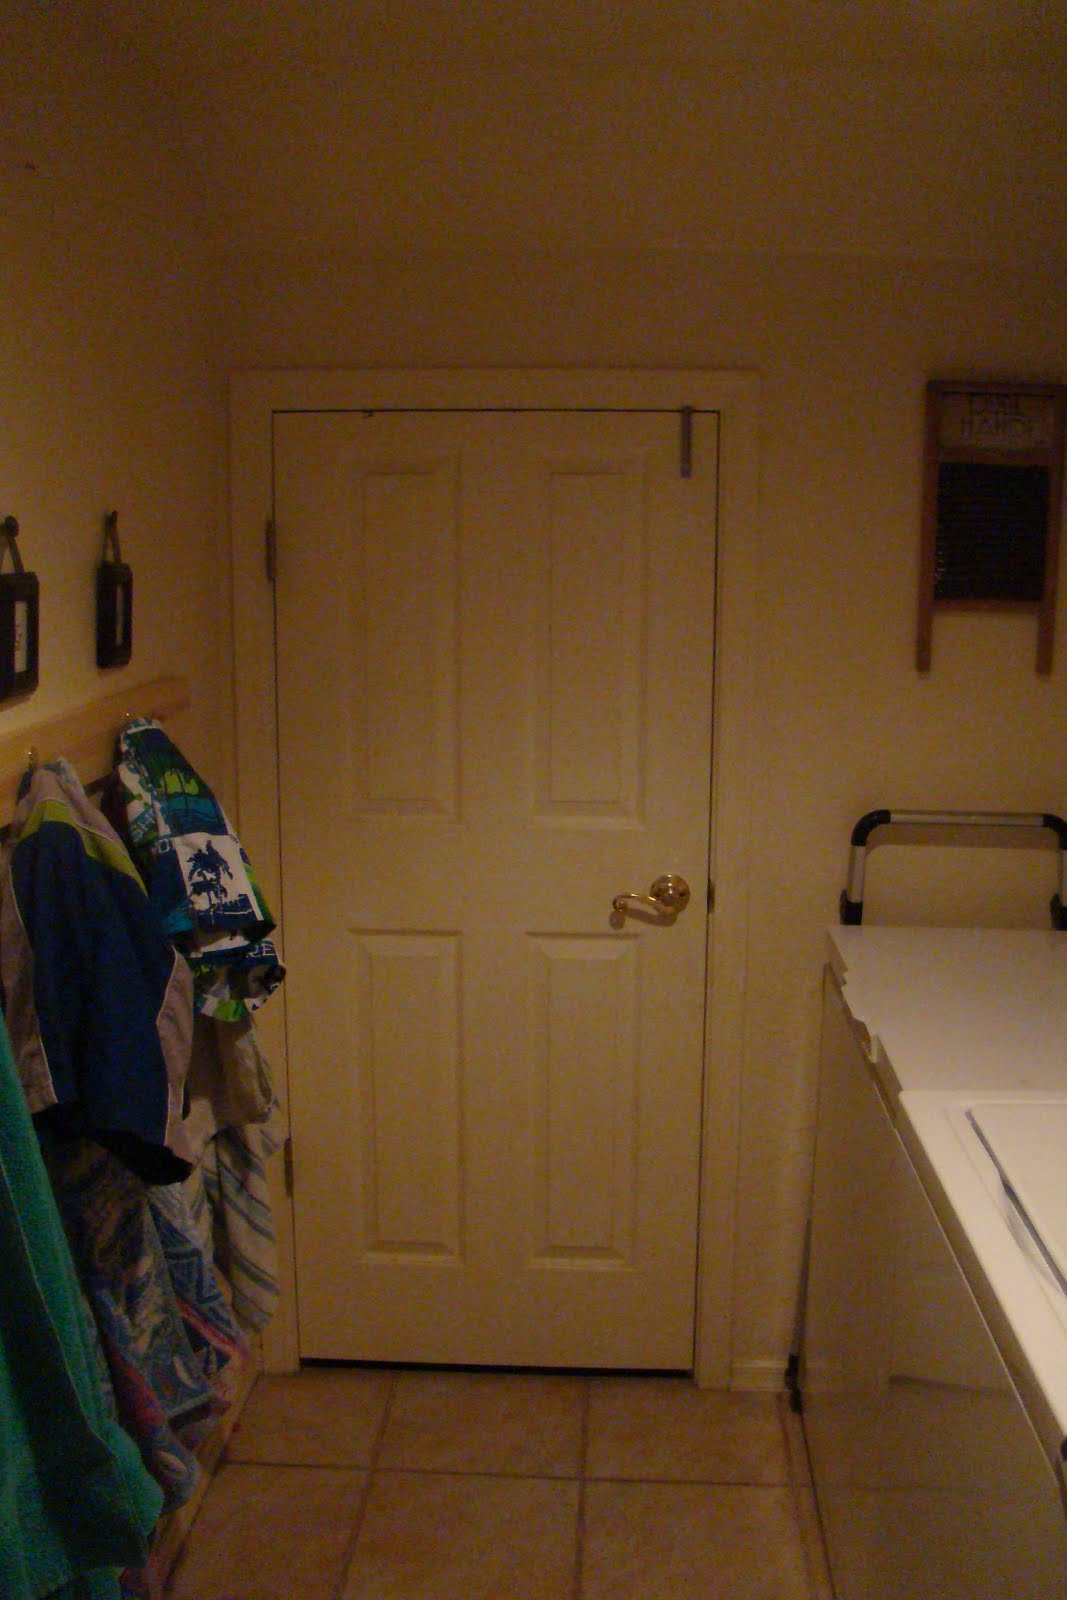
I knew it would make a great food storage closet I just needed to remove the carpet (in case of spills) and add the shelves....

This is my favorite little nook next to the door...I can fit 34 cans of spaghetti sauce neatly, out of sight, yet accessible. I love custom shelves - you should've seen the look on my handy man's face when I had him measure a can so they would fit perfectly.


My next favorite spot is my tricky entry corner - I wanted every inch usable. So I came up with this solution to the otherwise dead space, corner shelves!


The main, larger shelves here..you can see the angle of the stairs above, perfect for storing extra condiments. And the cereal box shelf - those boxes are two deep so whatever the front box, their is a matching box behind. I always stock up when cereal goes on sale - now I have a place to store them.


These beauties I found at Costco; I guess they're for dog food, but they said food safe on them. So again I made sure the shelves fit perfectly around them to store my bulk dry goods. I love gamma type lids that screw on and off with ease (they also came with a scoop).


I love my little but customized food storage closet.


Oh and the floor..I removed the carpet and tack strip but didn't want to hassle with adding tile to the closet and I didn't like the bare concrete so I made a little trip to the Home Improvement Store and came home with peel and stick vinyl tile. But instead of the traditional square tiles these were made to look like wood floor and were 5 inches by 36 inches. Cut them with scissors and stick them to the concrete. The floor cost me a whole $17 - they were on clearance of course.


5.21.2010

A New Drawer

Problem: Random lunch snacks 'floating' around my pantry.
Solution: A Snack box to hold them in one spot.

I started with this Costco size Cookie Box..

Cut the top off and spary painted four sides...


While it dried..I cut strips of left over cardboard, marked and measured for handles..


I used my big bite to punch perfect holes...


Used those as a template to mark box...


Punched holes in box...


Pushed screws through...


Attached handle using the cardboard previously made as filler...


Here's my drawer...


And my random lunch snacks inside...


It fits perfect in my pantry....


5.18.2010

Birth Announcements

I had a gal contact me wanting birth announcements, she explained what she wanted and I thought how classy!
She ordered a stack of Ecru Deckle Edge Note cards and had me hot foil her babies name, date, etc (I've blocked it out to protect her privacy) but they turned out so cute!
She's going to adhere a photo to the front and then the 'stats' are inside. I also added her return address to the envelopes, her recipients are going to think she spend a fortune on these unique baby announcements.

I added these personalized Thank You cards as a bonus.


5.13.2010

Baby Shower Tags

How can you attend a Baby Shower without a tag on your gift?!

My MIL dropped off a gift at my house without a tag, gasp!
So I made one for her gift, and one for my gift.

Pretty simple:
  1. Brown card stock with pink paisley patterned paper (wow say that 10 times fast).
  2. I cut a matching paisley from some of the left over paper
  3. Added pink hot foil dots around the outside, and purple hot foil dots in the inside - I'll do a tutorial on that later.
  4. Then added double stick tape and plopped it right on top of the existing paisley on the paper.
  5. little rub on sentiment from of the dollar tree, two mini hole punches on top, and ribbon to tie it off.

Inside:
  1. A smaller size pink square - because writing on brown doesn't show up very well.
  2. Cut out another paisley from the scrap paper
  3. Inked all edges for added interest.
For the MIL tag..

  1. A simple small tag shape cut out of pink card stock. This is cut long than folded over to open.
  2. Pink and Green patterned paper
  3. A little green ribbon
  4. light pink button - attached by a glue dot.
  5. That pink brad and thingy that holds the tag closed. The brad goes through the ribbon on the back.

Now our gifts have tags.


5.07.2010

Teacher Appreciation Week

This is what our PTO did for Teacher Appreciation Week...
Monday - Give your teacher something that smells good.
Tuesday - Give your teacher a compliment.
Wednesday - Give your teacher something yummy.
Thursday - Give your teacher something to look at.
Friday - Give your teacher a high five or hug.
For Thursday I made these personalized photo albums. I figured the kids could put pictures or cards in them and the teachers would always have them.


5.06.2010

Ribbon Organizer


I've seen A LOT of ribbon organizers in my day, but nothing suited the way I use and organize. I wanted something where I could see just how much ribbon I have left, easy to access, and doesn't take up a lot of space. This is what I came up with...


This is my Before: a box of ribbon mess.


Now Here's how I made my clever ribbon organizer -

as far as I know I'm the first to do this...

Years ago I hung curtains (in my old house). I used drapery hooks and hung them on curtain rings, removing the clips that came with it. So I ended up with a big bag of clips.


Before my flash of genius I tried this method of ribbon organization - wrapping them around a piece of cardboard and 'filing' them. This took WAY TOO LONG!


I decided sash rod + drapery clips = Perfect Organizer

The sash rod was $2.50 for two.


And the perfect place for it? Inside the cabinet door of my new 'library' storage cabinets. And right next to my crafting supplies.


My little trick to hang it straight? I taped it first then added the screws.


I love how it only takes an inch of previously unused space! Just clip off and clip back on!


Linked to:

Sorry to those I linked to and it's not showing - explorer crashed before I saved all the links!

Please leave the link in my comments! Thanks.

i-made-it-without-my-hubby

giveaways


5.04.2010

Roman Soilder Costume

At church we participated in a small dramatization of the Savior's life. I was asked to provide the costume for the Roman Centurion present at Christ's Crucifixion. (Mark 15:39)


I decided to give it a try 'on the cheap'.


Here's a Tutorial on How to make a Roman Solider or Centurion Costume...

First I gathered my materials:


1.5 yards of broadcloth in neutral color - tunic


1 yard red soft velvet like fabric - cape


Scraps of leather - belt, cape, and sword handle


Metal medallions - decorative on leather and helmet


Red feather package - plume


Cardboard, newspaper, spray paint - shield and helmet


Here's what I came up with, a n0 sew few day project.


I actually used my card making tools to pull this one off!


I cut my scraps of leather into long strips with my rotary cutter on a self-healing mat.


Then I used my eyelet hole punch and setter to make holes in the belt...


It sliced through the leather with no problem - then I knew this would be fun!


After setting eyelets (the regular kind for paper crafts) on the belt I laced it together so it would be adjustable and snug.


It looks pretty cool too! (Shown: toddler version)


I then attached additional strips of leather to the front of the belt with an brad (from the office supply store) through the metal medallion. So that the other strips would hang from the belt.


Here's an up close view of the Belt: toddler version...


Notice that each strip was cut with a point at each end. And that the toddler version has three strips and the adult version has five. I also added a circle of leather behind the middle medallion to give it a bit more detail...


The helmet and shield was made from paper-mache. A balloon inflated to fit inside the wears baseball cap. Then paper-mached to create the form (took 2 days to dry) trimmed to shape, and cardboard decorative pieces to front and top. Then spray painted silver. I added the feathers in between the corrugated parts of the card board they fit nice and tight. Then added another medallion to tie it all together.


The shield was the cardboard piece that comes from the bottom of the freschetta frozen pizza!


I taped another round cardboard on top of that and then a paper plate for dimension: Paper mach ed the whole thing and again with the spray paint. I poked a few brads evenly around in a circle to look like rivets. And hot glued a plastic star in the middle that I had laying around.On the back I just made loops for the arm with duck tape.


The Sword was made from a yard stake. I sawed the end off and nailed it as the cross piece. Then spray painted the end and wrapped the handle with scrap leather. Some of the children thought it was real!


I also made an arm cuff with more leather scraps - I added some snaps.


I found the fabric, medallions ($.10 a piece) and GENUINE LEATHER (by the pound) at SAS fabric all for really cheap!


The feathers and brads at Michael's


And spray paint at Lowe's.

Now you know how to make this costume or just borrow mine!


Linked to:

frugalicious-friday